I have! I have!
Picasa has long been my photo viewer of choice. I own both Photoshop and Photoshop Elements, but for locating photos on my hard drive, down sampling photos to put on my blog, and quick and light editing, Picasa is my program of choice. I use it every day without exception. So when version 3 was released in beta I was quick to download it and start putting it through its paces.
There are a slew of new features but I'm just going to touch on a couple of my favorites.
The absolute best new feature, as far as I'm concerned, is the ability to add watermarks to photos. Once upon a time I used to put my signature on all the photos I used on my blog. But then I got lazy. It seemed like too much of a hassle to launch Photoshop just to add my signature to a photo, especially in posts that included several photos. Eventually I stopped adding my signature at all when I posted photos. But I never got comfortable with the idea. Now with Picasa 3 it's simple. You set it up once, and a watermark is automatically included on each photo that you designate. :-) If you've noticed my name and date on the lower right corner of the photos in my recent posts then you've seen the result. This feature is winner in my book!
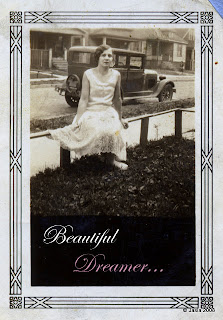
Another new feature I like is the ability to add text to photos. Here's an example of what I mean.
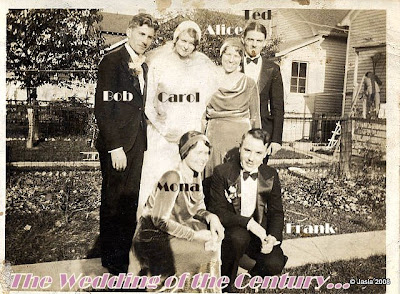
 The text tool is easy to use and allows you to preview the font style on the fly. You can also rotate text, add an outline, and change the transparency. Sometimes it's helpful to be able to label the names of people in group photos. Trying to list the names of people left to right, back row to front, in a caption can be a bit of challenge. This new tool will make it easy to add a name right on a photo for easy identification. :-)
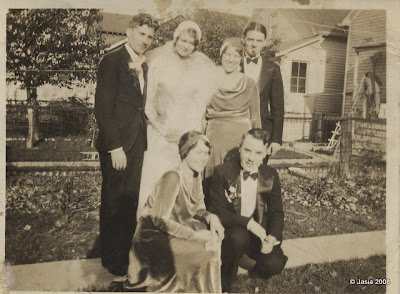
Here's an example. I took this photo...

To this...

... in less than 5 minutes! It's just that easy with Picasa.
- Open the picture in Picasa and under the "Basic Fixes" tab click "I'm Feeling Lucky" (It does auto color and contrast).
- Under the "Effects" tab click "Sharpen" (old photos are often "soft" and can benefit from sharpening).
- Back to the "Basic Fixes" tab, click on "Text". Type your text on the photo and choose a font that you like. You can adjust the size and choose a color. In this case, I sampled colors from the photo itself for all but the muted pink in the title at the bottom.
- Click on "File" then "Export Picture to Folder", choose your watermark, and save your file in the size of your choice. Done!
Picasa is a free download! Picasa is a free download! Picasa is a free download!
(No, I don't get any money for promoting it... I'm just trying to give you a tip for great looking old photos in minutes!) Windows only.